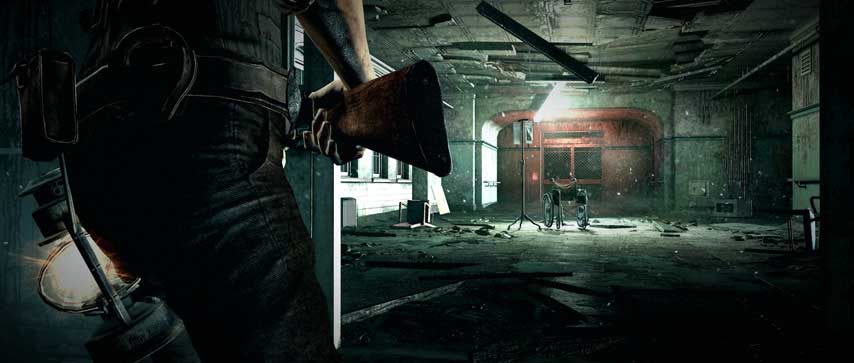
The latest horror from Resident Evil creator Shinji Mikami is a tough one. Let us help you through the madness with a guide to every chapter and tips on how to survive.
The Evil Within guide: walkthrough and tips for survival
There are a lot of habits to get into when playing The Evil Within that will make the game a lot easier and considerably less frustrating if you take a little extra time to make them part of your routine.
Throughout the game resources – ammo, health, upgrades – are scarce, so you don’t want to waste any of them in a panic or because you forgot to take advantage of an opportunity, whether that’s doubling back to a save point or using a trap to kill enemies instead of precious bullets.
Walkthrough
Chapter 01 – An Emergency Call
Chapter 02 – Remnants
Chapter 03 – Claws of the Horde
Chapter 04 – The Patient
Chapter 05 – Inner Recesses
Chapter 06 – Losing Grip On Ourselves
Chapter 07 – The Keeper
Chapter 08 – A Planted Seed Will Grow
Chapter 09 – The Cruelest Intentions
Chapter 10 – The Craftman’s Tools
Chapter 11 – Reunion
Chapter 12 – The Ride
Chapter 13 – Casualties
Chapter 14 – Ulterior Motives
Chapter 15 – An Evil Within
General tips and advice:
- You’ll need to save your game as often as possible. In some locations it’s possible to track back or go a little out of your way to save more than once, but it’s worth it if you’ve passed a particularly hard enemy or situation. You can save as often as you like when you visit Nurse Tatiana, and don’t forget to save after you’ve upgraded your abilities.
- In a new location and a little unsure about where the save room might be? Listen for the music and follow it to find the save mirror.
- The currency to upgrade your character is jars of green goo. You’ll find them dotted around the environment, but also smash every barrel and crate to find more. Some enemies leave a little green pool of gunk after you’ve killed them, so make sure you pick that up too. Search everything for goo, bullets and weapons.
- Your ability to sprint and your health only automatically recovers when you’re standing still. Don’t deplete all your sprint in one go – stop before it’s all gone and you’ll recover a little quicker. That way you can cover more distance in a quicker amount of time by sprinting-running-sprinting in short bursts.
- When you’re first able to upgrade Sebastian Castellanos, focus on Sprint and Health instead of weapons or inventory upgrades.
- Dismantle as many traps as you find for extra parts to upgrade the crossbow.
- Once you’ve dismantled a tripwire the explosive will still go off once shot. So you can still use a dismantled tripwire to kill if you can lure enemies into the path.
- Always check you’ve loaded your weapon before picking up more ammo. You can squeeze a few extra rounds in the inventory if the pistol, shotgun and Agony Crossbow have a round loaded in the chamber.
- Crouch into every new location using the stealth button. Not only will it make you harder to spot, but you’ll also be short enough to duck any chest-high tripwires.
- Booby traps that require you to stop the needle in the green only give you one chance. Be quick, and if your reactions are a bit slow, press well before the green section while the needle is still in the red.
- Hatchets/axes and torches will kill an enemy with one hit. These are handy weapons lying around. You’ll find hatchets stuck into door frames and tables so don’t ignore them thinking they are part of the scenery. You can’t stash them in your inventory and you’ll lose them if you travel to a save room with one equipped. Instead, drop it on the floor and pick it up later.
- If you’re very precise you can kill an enemy with a single headshot. But if the head doesn’t explode in one piece and the enemy is still coming at you with half its head missing, you’ll need three shots in total.
- The melee fist attack is only to be used for buying a little time. Punch the enemy and run if you have nothing else to hand. Don’t hang around. Remember: running away from some of the bigger enemies is the best tactic.
- Look out for statues, and smash them when you find them. They will give you a key that can be used in the morgue to open lockers with good loot in them.

Comments
Post a Comment