After running this Raid with various teams comprising friends, friends of friends, and the occasional random recruit, we’ve decided to share this regular guy’s guide to King’s Fall Hard Mode.
Destiny: The Taken King – how to complete the King’s Fall hard mode raid
As Bungie says, there’s “one more plate to spin” in each of the key encounters during the King’s Fall Hard Mode Raid. We’ve only one expectation before heading off to explain our preferred tactics, that you’ve played Normal Mode extensively to the point of it feeling routine and even quite easy. Beyond that, we’ve sought to simplify those basic strategies to account for the added material. Ideally we hope to be of use to players who are not always running with the same team, therefore in need of straightforward methods that are quick to grasp, though they can take time to master. Generally speaking, you should assemble a team with at least one Defender Titan and ideally a Voidwalker Hunter to assist with the bosses. Rocket launchers above Light 300 are very handy.
Court of Oryx Statues
What’s changed: There are more, and much stronger adds defending the statues and along the Relic routes. The Relics seem to be placed in trickier positions, often harder to grab.
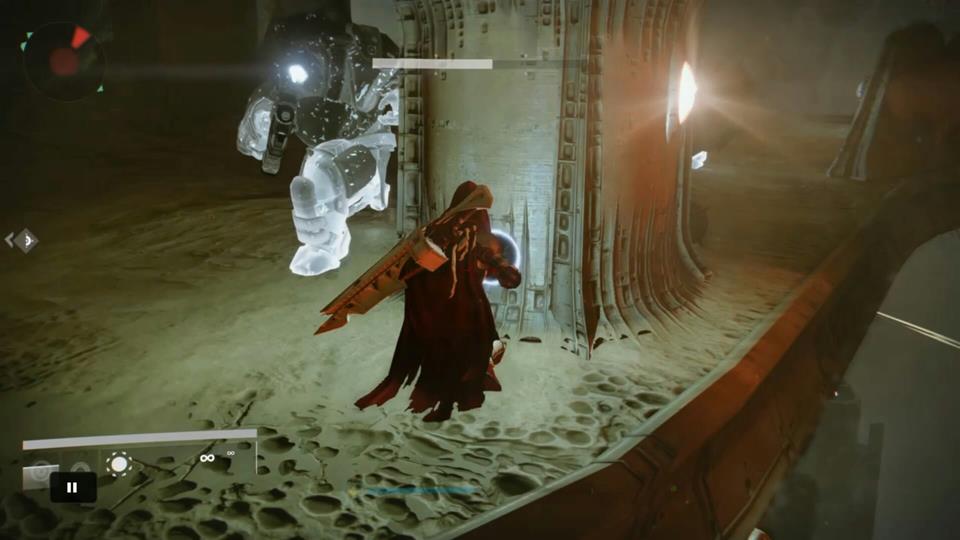
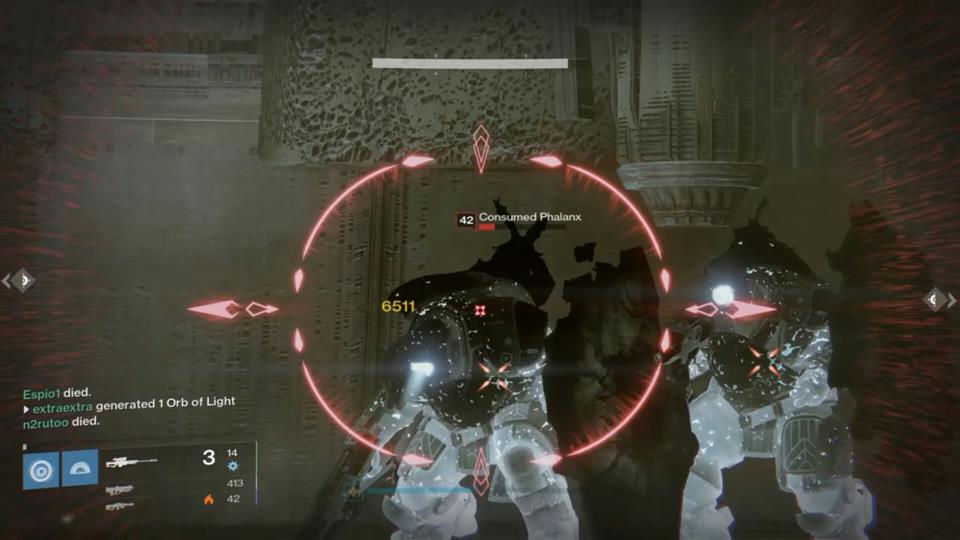
How to tackle it: With a full team, keep two Guardians in the main area to start working on the statue area as soon as the adds appear, and then assist with the barriers standing before the two-man Relic teams on either side. We’ve found that Warlocks have a hard time grabbing one particular Relic on the right-side route, so volunteer a different class for time’s sake. Consumed Phalanx are especially problematic on the bridges. Throw grenades or tether for speed and ease of passage.
Hive Tomb Ships (Jump Puzzle)
What’s changed: There is no longer a checkpoint half-way through, meaning that the entire chasm must be negotiated in one continuous journey. It’s still not that bad… unless you’re a Hunter.
How to tackle it: Set your subclass Agility to maximum, and equip all weapons with the Lightweight (+2 Agility) perk enabled. This is mainly for the Hunters, but helps with other classes too. The event is as Normal Mode but the fourth ship doesn’t dock at a ledge, instead vanishing with only a second to spare before an adjacent ship appears to the right. If you’re confident with the high jump that’s ahead (duck under the first ship, take a running jump at the next) this all seems quicker and easier.
Basilica (Warpriest Challenge)
What’s changed: An increase in the number of adds, now also comprising high level Knights that rush the Totem rooms left and right.
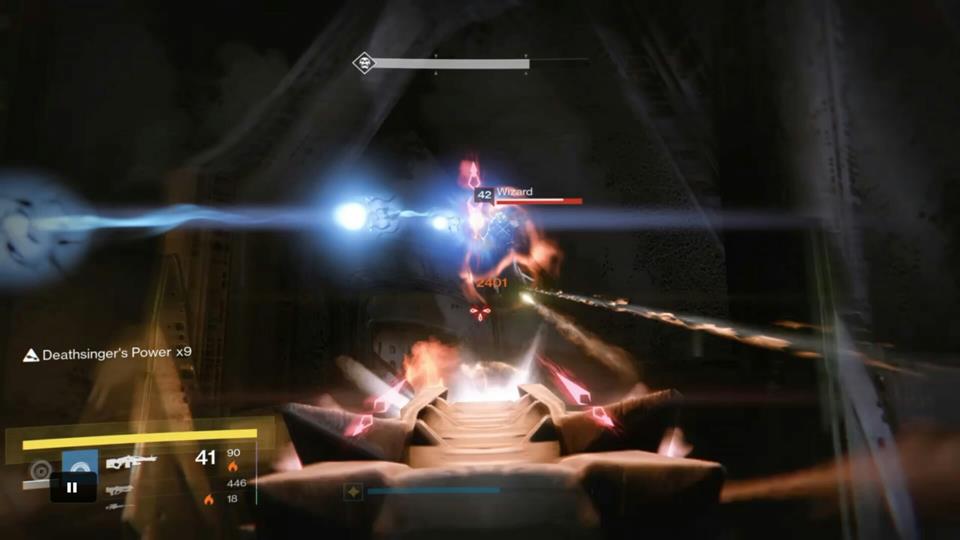
How to tackle it: Beyond our comprehension, this event still causes confusion among teams even on Normal Mode. It’s simple: first Guardian to grab the protective bubble is first up to deliver Deathsinger’s Power x10 to the activation plate in the centre room. Each time the Deathsinger’s Power is passed on, one Knight appears on each balcony overlooking the Totem areas, and Wizards appear on the balconies of the centre room. The Deathsinger guys can help briefly with the Knights in the Totem rooms, but it’s best to hurry to the centre room to deplete the Power while clearing adds. These adds make their way to the Totem rooms. As long as the guys with the Power are clearing adds – including Thrall, Wizards and Knights – in the centre room, the Totem teams can manage the rest. Should the guys with the Power hang back to ‘help’ too long with the Knights above, the adds in the centre room become harder to manage. Soon as the Deathsinger’s Power is gone, head back.
Defeat The Warpriest
What’s changed: Warpriest summons additional powers to his splash-damage bombs. They are triggered each time that a Glyph stone is disintegrated by his Oculus stare. Left: Venom Orbs. Middle: Taken Hobgoblin projectiles. Right: Taken Captain Darkness Blast.
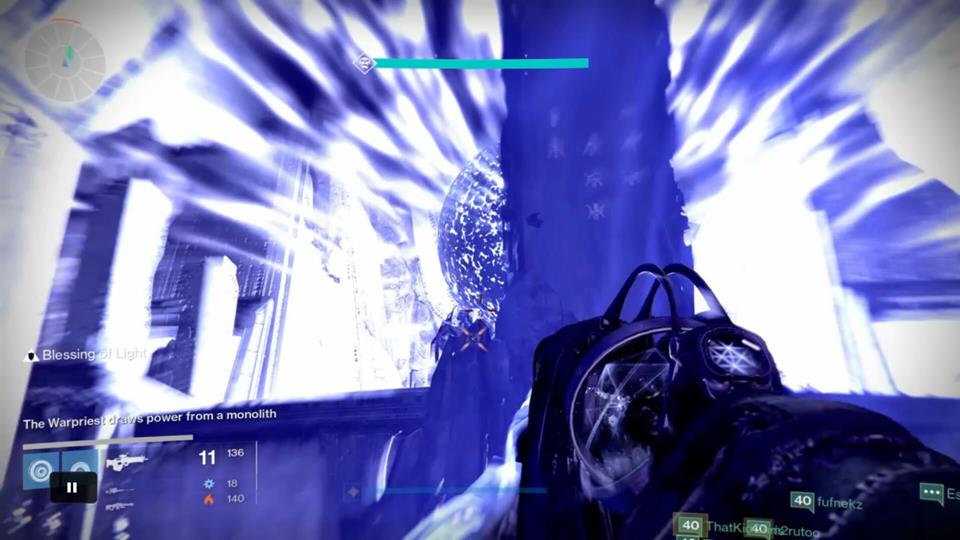
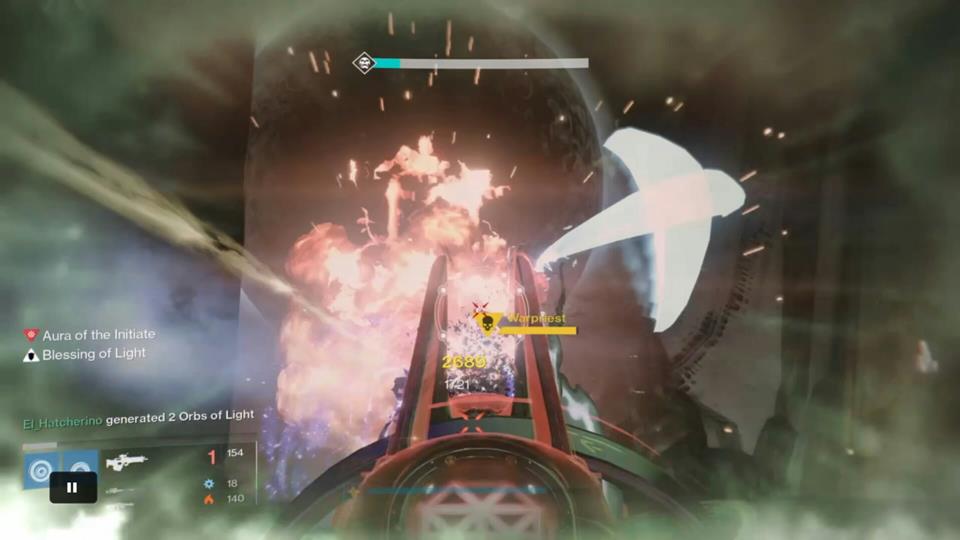
How to tackle it: Your Defender Titan helps carry the team here, so if you’ve more than one in the field it is so much the better. The encounter proceeds as with Normal Mode, but more than one death jeopardises the attempt. After the Glyph Sequence has been completed and the Aura of the Initiate activated, have a Titan place a Blessings bubble just behind the Aura so that the team can dip in and out to replenish over-shields. It protects against the Warpriest and adds’ bombardments, while also bringing the Touch of Malice primary into the picture for those that have it. The Touch of Malice Perk that depletes the user’s life-force is countered by the Blessings effect. The DPS is huge. Otherwise, aim high-impact sniper shots at the Warpriest and boost DPS with a Voidwalker’s bow. If it’s the right-hand Glyph stone shielding from the Oculus, be ready to run out of the way because the first Darkness Blast comes soon after that stone has vanished.
Defeat Golgoroth
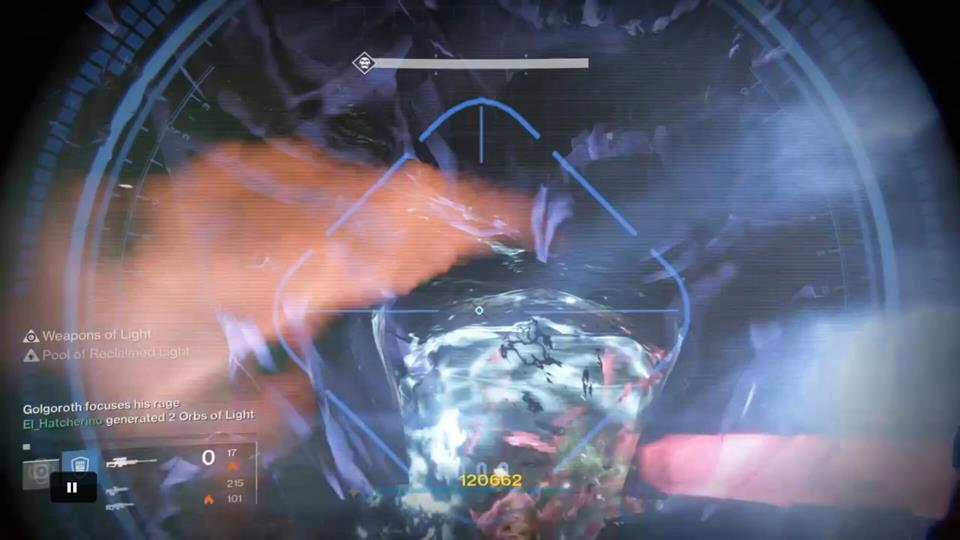
What’s changed: A condition called Unstable Light that randomly affects one person on the team each time the pit crew opens fire on Golgoroth’s belly. This can also be the person that’s attracting Golgoroth’s gaze. When the Taken waves begin, there are way more in the pit to contend with.
How to tackle it: Keep this dead simple. The popular method of using only the front-left ball to drop the pool of Reclaimed Light still works fine with a team of moderate (Light 305-308) DPS capability. Boost this damage potential with a Defender Titan’s Weapons of Light, placed above on the edge of the pit before dropping down. Voidwalker Hunters should use Shadowshot with Blood Bound. The gaze is taken on the front left corner of the room. As soon as the pit crew is firing upon Golgoroth check to see who has the Unstable Light. They’re going to explode in a matter of seconds, so need to get out of range of the others to detonate somewhere safe. In our experience, the risk of being stomped by Golgoroth is too great to chance exploding beside him in the hope of causing additional damage. Try this if you like but agree it with the team. With good DPS – based on Black Spindle, Sleeper Simulant, or as many high-impact sniper shots as you can manage – Golgoroth should fall to less than a quarter health after three runs with a Light 305+ team. To ensure that everyone survives the pit, have everyone jump out when the gaze-grabber’s countdown reaches four. If you have somebody down there as a Stormcaller Warlock and Stormtrance, you can risk staying to the one.
Defeat the Daughters of Oryx
What’s changed: The timer continues without pause after the event is activated by stepping onto the first plate. There are more adds, causing sustained damage, making them harder to clear.
How to tackle it: It is the timer that forces the fireteam to adopt an all-or-nothing attitude here, as being ‘careful’ about it by weakening the first sister, leaving her death until last, can have a Butterfly Effect on the whole routine if players are slow to organise. This, combined with the problem of adds, points to a strategy that assembles the team at the far centre of the map, between the two plates, aiming up at Ir Anûk (right) and Ir Halak (left). The person responsible for clearing the adds while the Spark Runner returns is better off with a Light 300+ rocket launcher assisted by the grenades of those standing on plates. After the Spark Runner has grabbed the first Aura, kill Ir Anûk from within it, then shoot out of the Aura to kill remaining and some re-spawning adds. Immediately after the next Spark Runner is chosen (Torn Between Dimensions) repeat the same routine, only this time kill Ir Halak. If the Runner is away without hesitation, the familiar countdown to the Vandal snipers should remain the same, and the appearance of adds should not trouble the team too much. Save any DPS-assisting Supers for Ir Halak. As with Oryx, Touch of Malice is an absolute beast here.
Defeat Oryx, The Taken King
What’s changed: Four additional Light-Eater Knights spawn to detonate the Blight bombs left by defeated Light-Eater Ogres, putting more pressure on the plate defenders to snipe accurately while staying alive long enough for the Spark Runner to claim the Aura of Invincibility.
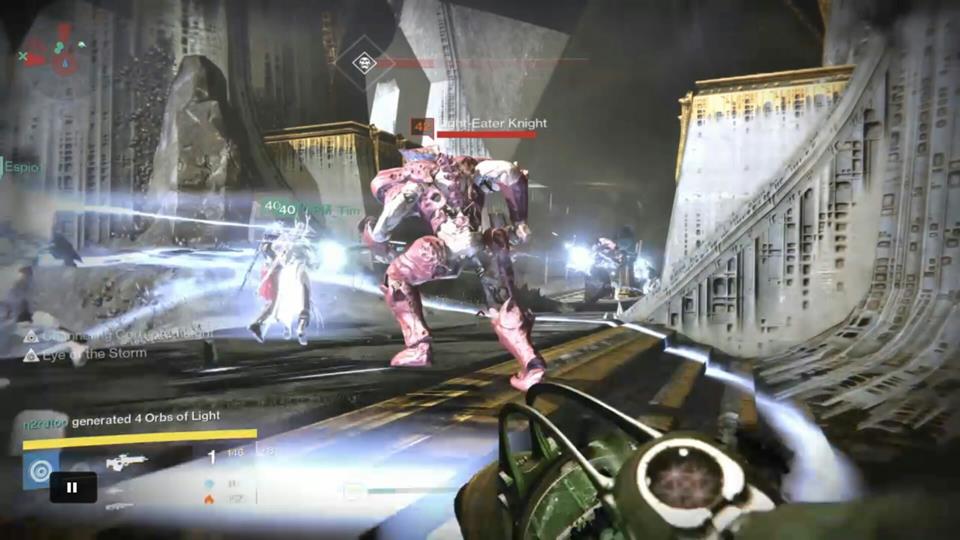
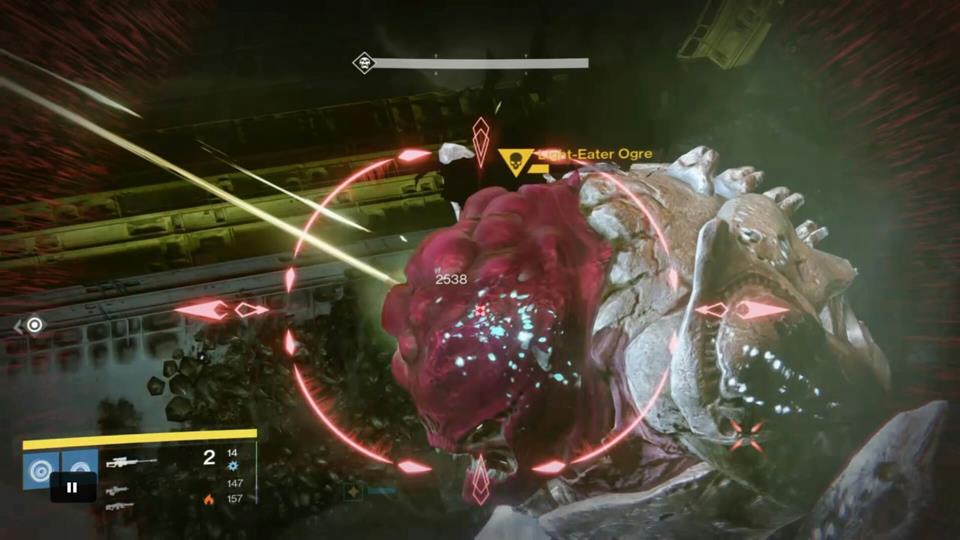
How to tackle it: Your fireteam should be Light 310 on average, the lowest around 308. This is mainly because of the task required to drop Light-Eater Ogres, as with Normal Mode, but now requiring several shots from high-impact sniper rifles. The Light-Eater Knights that appear in addition to the Vessel of Oryx, do so in the same order as the Activation Plates, but in their case in the far corner across the way of their associated Light-Eater Ogre and subsequent Blight bomb. The mechanic is straightforward: Assist with the Light-Eater Ogre across from your Activation Plate. Turn to focus on the Knight that has appeared below and to the side, after the Light-Eater Ogre across from you has died. These Knights run diagonally across the map to reach their Blight bombs. Sniper shots, followed by heavy machine gun fire should stop them fast. The adds, that comprise Acolyte’s Eyes, need special attention from the add-clearing Guardian to allow safe detonation of bombs.
With the consideration of Light-Eater Knights aside, the mechanics are the same as Normal Mode. You should therefore expect to put as much DPS on Oryx as in Normal Mode, to ensure that he doesn’t enrage – this means roughly a quarter of his energy for each roll of above routine. The Light bomb sequence is the same. Shade of Oryx face-offs inside the Darkness Dimension are the same, first occurring after Oryx reaches below 50 percent health. The drill that you need to maintain is only slightly more complicated than Normal Mode, but enough to throw teams into chaos.
While it isn’t necessary to have a player occupy an Activation Plate furthest from where the runner begins, keeping somebody in place still helps with the symmetry of the Light-Eater Ogre/Knight struggle. Unless one particular Ogre/Knight is causing problems, keep things nice and even.
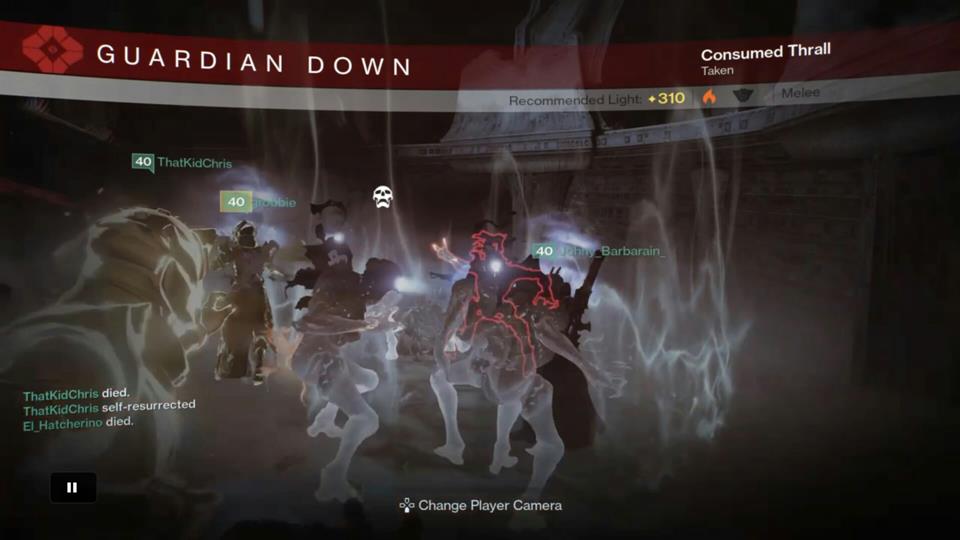
Needless to say, but to underline the point and save time, just one death at the current maximum Guardian Light Level for the Oryx encounter is essentially a ‘wipe’. All six team members need to think on their feet, find the best positioning to avoid damage, and the Runner make swift progress to remove the Tomb Ship damage from the list of possible disasters.
Though we are aware of alternative Oryx methods being successfully explored, it’s likely that the most straightforward will prevail. We expect that the one outlined above will stand as the most noob-friendly example in the long term.
Comments
Post a Comment