Nioh is tough all the way, but the bosses are where things really get interesting.

Table of contents
Nioh is quite a bit more than just Dark Souls with samurai – it’s a convincing blend of the action-packed combat Team Ninja made its name for with Ninja Gaiden with some of the RPG structure and challenging difficulty that made the Souls series great.
If that sounds like it’s going to be difficult, yes well – it sure is. You may find that you struggle more than with a Dark Souls game, thanks to the demanding action and a lack of chese strategies, and Ninja Gaiden fans may in turn be at a loss as to how to leverage the game’s obscure systems to best effect.
If you’re hit a wall, you should check our Nioh guide for general combat tips and strategies – but on this page we’ll be talking about the stumbling block that’s going to drive most Nioh players to screaming frustration – the bosses.
Nioh’s bosses are massive, epic encounters, and you’re sure to die to a few times before learning their patterns and fighting style – eventually turning that back against them.
Some of the bosses in Nioh are deliberate difficulty gates. You need to learn how to really play Nioh, understanding how it differs both from Dark Souls and more classic action games, in order to proceed. For example, many players get through the first two bosses with a bit of effort, but run smack into Hino-enma, AKA Learn To Block 101. These lessons will really help you in the broader game; you’ll have a much better time in normal encounters once you master Nioh’s many foibles.
To help you work out what those lessons are, we’ve put together a guide to the bosses in the game. Under each entry we go into a little detail on each boss, talking about their move sets, their strengths and weaknesses, ways you might be able to catch them out or cheese them, and even a few tips on recommended weapons and stances for each battle.
We don’t cover every boss in the game here, but if you can make it that far, you’ll be well-prepared to tackle everything Nioh throws at you. We believe in you.
Needless to say, there’ll be spoilers of boss names and strategies on this page.
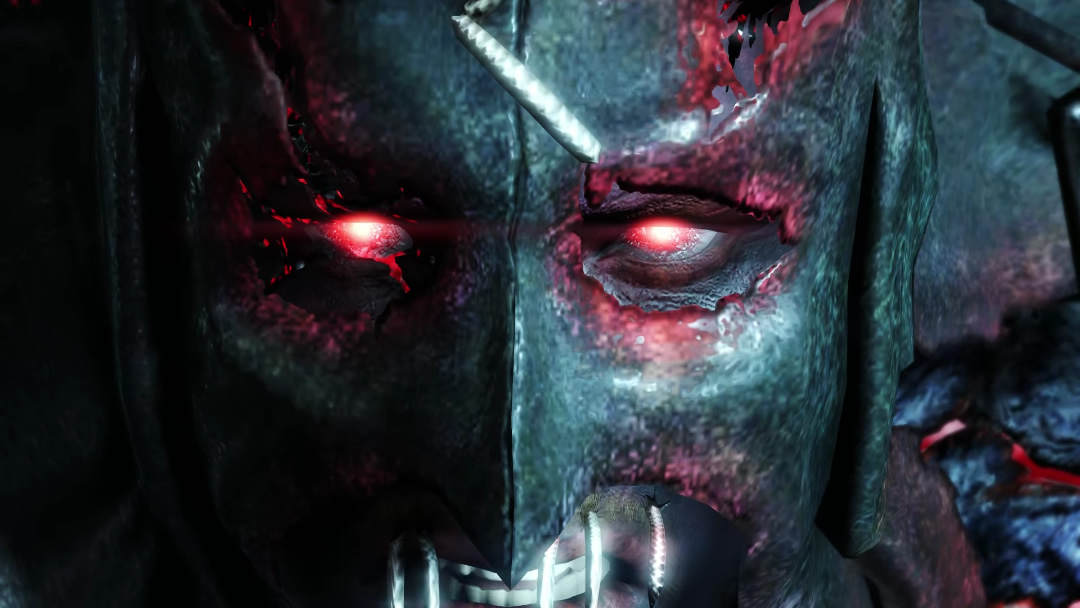
Derrick the Executioner – Tower of London (Mission Level 1)
This first boss battle is really about as simple as they come, since it’s the battle that tops off the starting area. It’s really designed to test your knowledge from throughout the prologue level, which is basically a lengthy disguised tutorial for what the rest of the game will be.
The good news is that Derrick is big and lumbering, meaning all of his moves have pretty obvious tells and wind-ups as you approach him. The basic strategy here is to make Derrick whiff: dodge his heavy attacks, and when he swings and spectacularly misses that’s your cue to get in there and lay on some hits to do some damage. At this point in the game you’ll have a lot less weapon choice, so allow us to make a base suggestion: use the battle axe. It’ll smash him.
Eventually he’ll transfer into a second phase (because of course he does), you’ll want to hang back a bit. He’ll charge at you like a big ol’ idiot, and once again you can sidestep him and get in on him while he’s open from his ill-considered dash towards you to attack. Keep this up and he’ll go down quickly enough.

Onryoki – Isle of Demons (Mission Level 5)
After old Derrick, second boss Onryoki might well be viewed as the first ‘true’ boss of the game. He’s an enormous demon that swings chain balls around – and even if you’re blocking, you really want to ideally avoid being hit by them. If you’re not blocking it’s going to really, really hurt. As such, this is a test of dodging as much as it is of offence, and it can be a humbling test indeed.
Your basic strategy for this battle should be to walk in a little closer and wait for him to swing the balls about wildly. Eventually he’ll slam his balls into the ground, baited (hur hur) – just don’t get hit (great advice, I know) and watch out for the second ball, which he sometimes uses to sweep the area. Once he’s stopped swinging, dash in and lay on some pain and as he recovers dodge back. This is the rhythm for the fight: let him swing his weapon about wildly, and when he tires and comes to a point where he’s forced to stop, dash in and hit him as much as you can while remaining safe.
Elements of this boss might frustrate, but one gets the impression that the developers intend this as a deliberate skill-check on your ability to dodge. Die a few times if you must – what’s important is to learn the tells in Onryoki’s animation to have an idea of when he’s going to attack. Dodge carefully. We found the low stance was best for this battle thanks to its dodge speed and stamina/ki savings.
If things go really badly wrong you might find some healing items in the boxes in the room, so smash them or goad him into doing so. Eventually you’ll get the chance to break the chains to detach his balls – do that. This is basically phase two now: instead of swinging them, he’ll pick up the balls and throw them at you. Dodge if this happens, but also try to keep him from them, but beware of his stubby but very powerful attacks at close-range. Pretty soon he’ll drop.

Hino-enma – Deep in the Shadows (Mission Level 12)
Hino-enma is found in the third chapter of Nioh’s main story in a mission titled Deep in the Shadows and is the third boss you’re likely to face. This boss is found inside a cave, and in a cutscene this yokai will swing down from the rafters. She has wings, and, yes – she can fly. That makes things a little more complicated, though I actually found her quite a bit easier than Onryoki.
She basically has two types of attacks – projectile attacks that aim to hit you with either spikes or a blast of wind, or a dash to you that body-slams you. For most of the battle she’ll be at a distance and so these will be your primary worries, but if she gets in close she has a few different close-quarters attacks too. Generally speaking, you want to keep her at range at first and then try to lock her down once you close the distance. Spears are great for this battle thanks to their enhanced reach over other options.
The ultimate key is to avoid her projectile attacks. These things are deadly and can lead you from full strength to death in a matter of seconds – but they’re also well choreographed, with Hino-enma’s animation making well clear what she’s up to before she does it. Dodge and block.
The best bet is to wait for one of her dashing body slam attacks. Avoid it, using low stance to have the fastest available dodge. Switch stances once she’s close by and strafe around her, aiming to launch an attack each time your strafing and dodging causes her to whiff. Only get as close as you need to for your weapon to make contact – get too close and she’ll be far more likely to catch you. Eventually, she’ll be downed.

Nue – The Spirit Stone Slumbers (Mission Level 19)
Nue is Nioh’s fourth boss and is an enormous yokai that is a mangled mix of several types of animal. It can fly and spit lightning and poison at you – it’s a deadly one. As with Hino-enma for this encounter we recommend a spear so that you can snipe damage off Nue here and there without getting caught up in its attacks by being too close. Use low stance so that you have the maximum ability to move and dodge at speed.
The key here is to wait for Nue to use its lightning or poison attacks; when it does, dodge about to the side and get in to attack. The lightning and poison attacks lock Nue down for some time, giving you plenty of time to get in, let rip some combos, then retreat before the beast is able to raise its defences once more
Once Nue takes enough damage that its Ki is depleted, then is a good time to deploy your Guardian Spirit and really go to town. Go nuts, and if you’re aggressive enough this beast won’t even have the time to recover from its depleted Ki state.
A second non-boss/non-compulsory Nue appears in the mission ‘The Demon of Mount Hiei’, if you want to try your luck a second time.

Tachibana Muneshige – The Spirit Stone Slumbers (Mission Level 19)
Tachibana Muneshige is the second boss in The Spirit Stone Slumbers main mission and is the sixth boss in Nioh’s main story progression. He’s also just a dude, something we haven’t seen since lumbering old Derrick. Tachibana is also encountered as part of the side mission ‘An Invitation from the Warrior of the West’, and much of what we write here applies to that (admittedly harder) encounter with him.
Given that this is a one-on-one duel, it’s unsurprisingly about defence as much as offense. Try to dodge rather than block, and when you manage to dodge and force him to whiff one of his attacks, get in and counter hard. While in previous boss fights we’ve recommended low stance for speed, here we’d recommend medium – it allows you to dodge but medium stance’s heavy attacks are an ideal damage-dealer for this encounter. The spear or sword both seemed to work great in equal measure for this encounter, though given that he’s not the fastest to recover the spear allows for a little more distance for safety’s sake.
Once he’s out of ki, you’ll want to knock him over and perform a ground attack on him (Triangle) to really deal massive damage. Ultimately this isn’t too challenging a fight, and the dodge-and-weave dance that you end up doing is reminiscent of Derrick.

Great Centipede – The Silver Mine Writhes (Mission Level 27)
Seventh on Nioh’s list of deadly main story bosses is the Great Centipede, and this boss is… pretty much exactly what you’d expect based on its name. That goes for how gross it is too, for better or worse…
The first phase of this boss is pretty simple – get in close and attack its legs. That’s the weak point. For this I used low stance with a sword, essentially getting in close and slicing and dicing like a mad-man. If it dashes at you with its pincers, don’t worry too much about dodging – just block instead and then kite around to attack the legs. The Great Centipede also rears up; if it does, be ready to dodge to the side as it slams back down to the ground.
The key trick for this fight is to try to always remain behind this boss; block an incoming pincer or slam attack, then dodge around to the rear of the centipede and go to town on its legs. It’ll turn to face you and rear up for one of its attacks – when it does, block, then again dodge back around behind it. Follow this basic rhythm for the entire fight and though while challenging the Great Centipede won’t really get a chance to deploy its nastiest, dirtiest tricks and will soon enough fall.
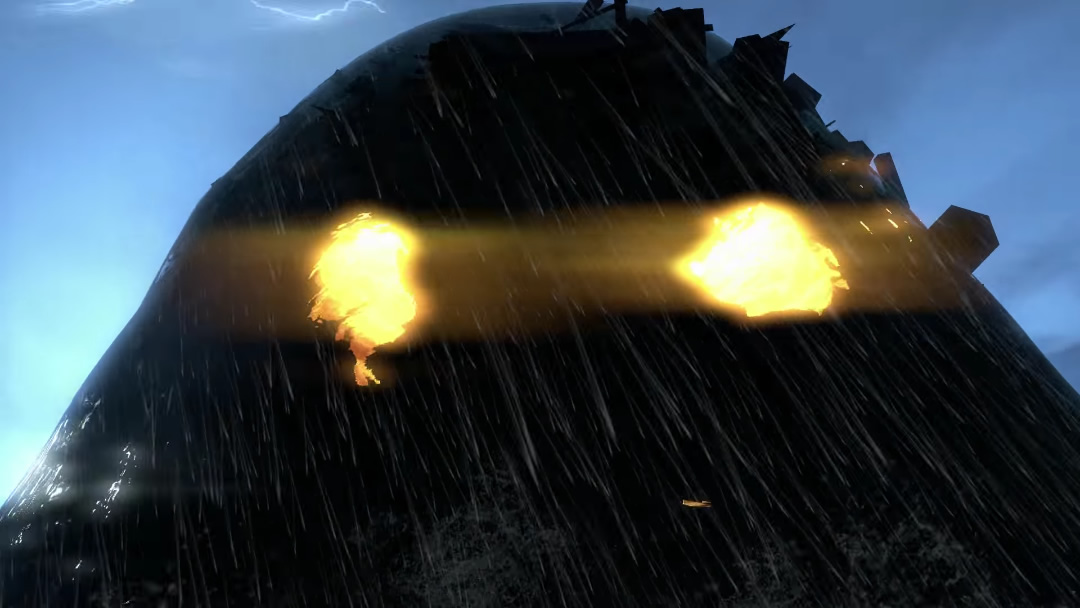
Umi-bozu – The Ocean Roars Again (Mission Level 38)
An Umi-bozu is a yokai that lives in the water, sinking ships out in calm seas. They’re gigantic, and gross, and kind of difficult to see – which helps it to stalk the oceans. William has to slay one to continue with his quest, so let’s get to that…
First thing’s first: throughout The Ocean Roars Again mission you’re going to find bonfires. There are three in total, and you want to make sure that you set each of the bonfires burning. If you haven’t done that in the mission, backtrack and do so. Lightning the bonfires will mean that you won’t have to fight a bunch of grunt enemies at the same time as Umi-bozu, which will be something of a life saver considering this boss really requires you to focus on him.
If you have access to talismans or Fire Magic, these should be your go-to attacks. A fire talisman paired with a weapon in low stance for speedy attacks can lead to a fast whittling of his health bar. The rules of previous fights still apply in general: hit Umi-bozu when it’s vulnerable and then back off and prepare to dodge and weave if necessary. This boss is powerful but also isn’t all that threatening so long as you watch carefully in order to predict its movements.
At around a third health remaining Umi-bozu will transfer to its second ‘form’. This second phase of the boss fight puts it into the middle of the arena, where it’ll spam out powerful attacks. These attacks are harder to dodge, so you may want to consider switching stances and blocking more often instead. Dodge when you can. Keep picking away, and eventually it’ll be stunned by the damage dealt. When that happens, pop your living weapon and go in for the kill.

Joro-Gumo – Spider Nest Castle (Mission Level 47)
Well… I hope you don’t suffer from arachnophobia. Joro-Gumo is a gigantic spider-like boss that has a bit of a feminine look that really does nothing to distract from the fact that, yeah, she’s a giant spider. As a result you can expect spider-legs, speediness, and a number of legs that can be used to lash out at you. This one is a bit of a pain.
Joro-Gumo has a few attacks you need to watch out for. First off, there’s a body slam where she’ll swing her bulbous rear around and try to slam you with it. The primary way to avoid this one is to always keep your distance when you’re not attacking and be ready to dodge backwards, away from her. Previous distance-based boss advice stands here – the spear is pretty great for this thanks to its long reach, plus firearms and bows.
When Joro-Gumo arches her back, you can be sure she’s ready to start trying to ensnare you in webs. This attack has some wind-up, so use this as an opportunity to dodge away and try to get behind her. This attack is a must-avoid generally anyway, since it’s pretty nasty, but the fact it winds up for a while means you can use it to get behind her, where there’s a glowing weak point. If you’re a distance away, and more often than not at the start of the fight, she’ll also perform a lunge attack – so beware of that.
Joro-Gumo actually doesn’t have much health, but when her health drops she becomes extremely aggressive. Try not to let this throw you off – instead, double down on the same strategy of dodging and waiting for your chance to get behind her with occasional sniping rifle or bow shots from the front. When you manage to get behind, let rip with your guardian spirit and try to take her out swiftly.

Yuki-onna – Falling Snow (Mission Level 55)
Yuki-onna looks like trouble. Something about those ice bosses… I don’t like ’em, and this literal ice queen is quite deadly. Honestly, this boss battle plays out not dissimilar to Joro-Gumo above, except Yuki-onna is quite a bit more deadly and aggressive. She’s on the more fragile side health-wise, but that didn’t actually help me too much – I died quite a bit on this one.
Once again trying to keep some of your distance is key, though it’s a bit harder with Yuki-onna. She’s a smaller target and she also wields a lance of her own, so even if you use the spear to pick on her from a mid-range distance you’re still in dancer of being hit. With that said, keep your distance and use your ranged options: start first with your rifle, then your bow, and only switch to your spear or sword if things get desperate ammunition-wise.
A chance will come to get in close – which is when Yuki-onna performs her ice-based projectile moves or stomps the floor, creating a ring of ice around her. You must be careful not to be too close when she does this, but immediately afterwards get in close! She remains frozen in place after these moves in a sort of cool-down (none of these puns are intentional, promise) and that’s your chance to get in close and do some damage.
As with the previous boss in her powered-up second phase once she hits half-health you really should be scared. The first half of the battle should be a mix of projectiles and that dash-in, slice, escape flow, but for the second half I’d recommend you stay away and finish her off with your ranged weapons – she’s just too deadly up close and personal.
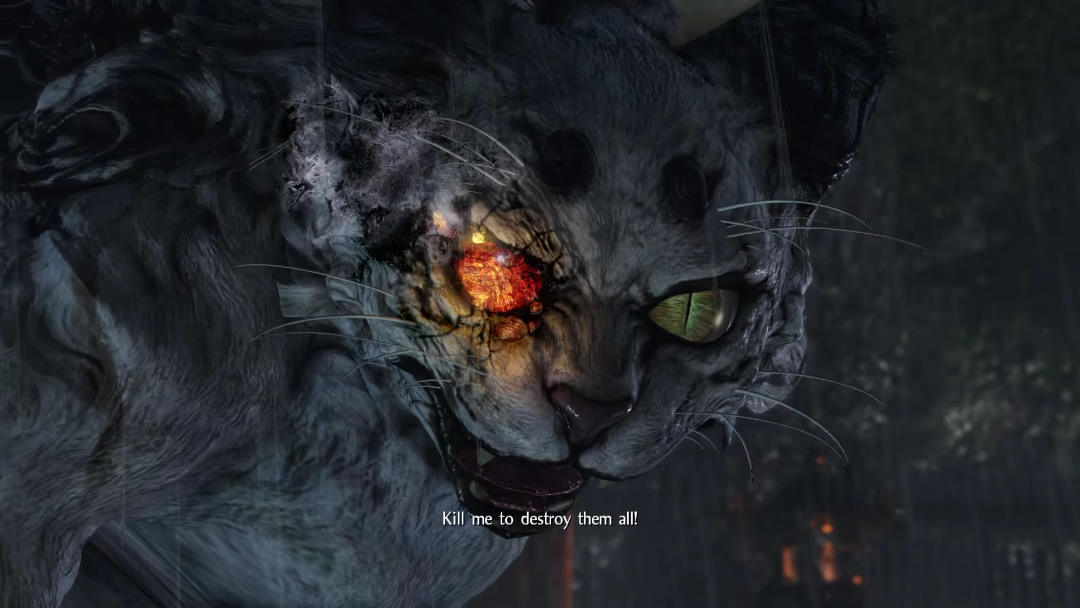
White Tiger – The Demon of Mount Hiei (Mission Level 62)
Something about the White Tiger gives me flashes of a few different Dark Souls bosses, or indeed the Chimera in Dragon’s Dogma. As with a lot of these four-legged creature bosses the main way to stay out of harms way is to stay relatively close to them, but keeping to the side or immediately behind them so that they can barely see them and so their forward-facing attacks whiff entirely.
If you get into this sort of position around the White Tiger the only attack you really need to be hugely wary of is a big full turn the White Tiger can do to turn and face the opposite direction. His wings can also lash out on the sides, though these tend to be quite telegraphed and so you have time to block or dodge them. Other attacks all come from the front, including a few projectile-based attacks. If you’re behind these won’t be a big worry.
Earlier in this level there was a chance to fight a non-story Nue, a boss enemy from earlier in the game. There’s a similarity between the two. Use low stance to remain nimble and try to always remain on the sides or behind the White Tiger. Once the White Tiger reaches around half health you should think about popping your living weapon – like most bosses it powers up and gets a little more intense, but if you catch it with the living weapon nice and early you won’t have to concern yourself with its powered-up form. Compared to the last two bosses I found this one to be a bit of a doddle.
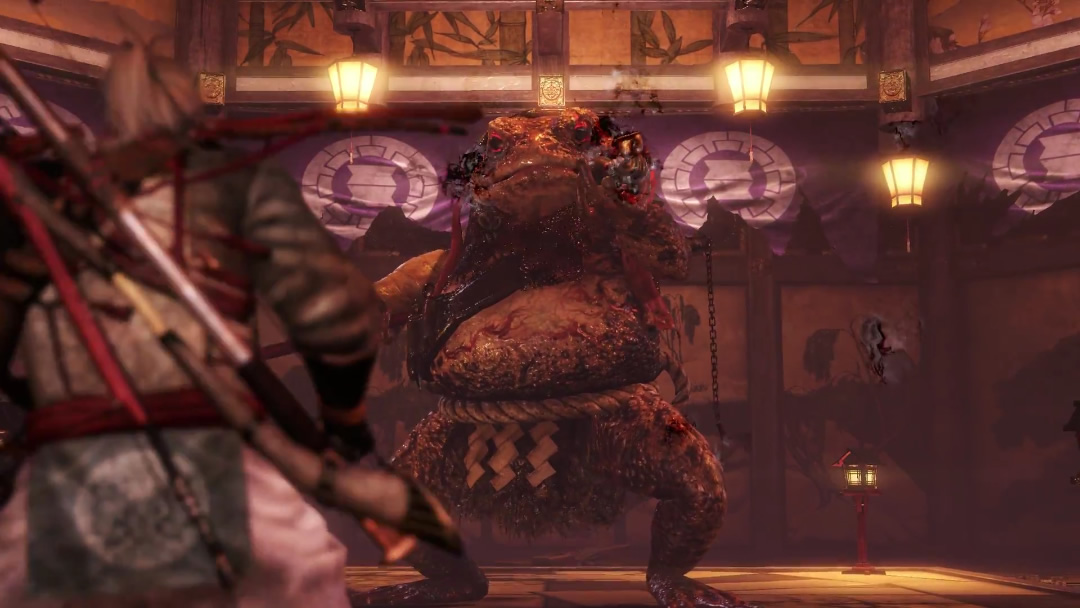
Giant Toad – The Iga Escape (Mission Level 70)
Listen. The Giant Toad doesn’t mess about. Just look at that name: he’s a giant toad. His name is giant toad. What of it? He also smokes a pipe, so, y’know… Giant Toad smoking a pipe is probably the coolest boss in this guide. He’s massive. He hits hard.
Because he hits hard, he’s a slow, lumbering type but his attacks are absolutely awful to eat, even if you’re blocking. So… the tip here is don’t get hit. Obvious, I know, but the Giant Toad’s attacks are actually easier to dodge than many of the bosses in the game thanks to his sluggish speed and how telegraphed his moves are. We’d advise you stick to low stance for maximum movement, but use whatever weapon you fancy – here it doesn’t make much of a difference.
the Giant Toad has a lunging forwards attack and a jump in the air that slams back down, so watch out for both of these. Dodge these attacks, get behind him and keep hitting. Once you are behind him, he’s very likely to do the jump-then-slam move, which is ideal – dodge back, let him slam down, then dart back in for more hits.
I was able to keep this up for pretty much the whole fight, though given his slow speed I imagine ranged weapons are also a very viable option. Don’t forget to pop your living weapon when his health gets low to burst down the final section of his life.
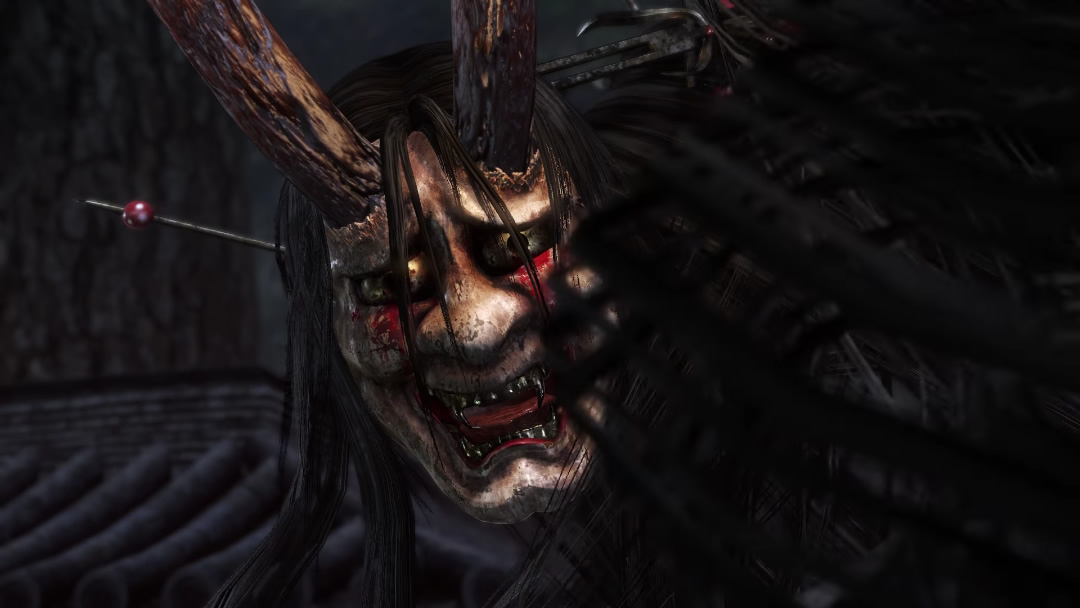
Ogress – Memories of Death-Lilies (Mission Level 78)
This Yokai that takes the form of a woman who died while full of hate. The first scene introducing her feels a little tragic, but as the Ogress quickly turns on you sympathy very quickly turns into a rather pressing need to kill or be killed.
Like the Giant Toad fight above, the Ogress is generally quite slow thanks to her size, though she has a couple of faster-moving moves that you should be aware of so you’re not caught out by them. She doesn’t look like the jumping type, but try not to be surprised when she jumps into the air, hovers for a moment and then smashes back down. Let that be a word of warning, too: when you do get in to attack, don’t stay there too long else that jump-and-smash might catch you out. Weave in and out, deploying some of the tactics we’ve been using since the very first bosses.
When dodging, dodge to the left to avoid her attacks, and then get in close, land a few hits and dodge away. Whatever weapon you pick, Low is the stance to go for here with Light Attacks. Braver players might push for mid stance; high is a bad idea.
At around the one-third health mark, the Ogress will have had enough. She gets mad, and that means a lot of long-ranged jumping attacks that are both hard to avoid and hard to predict. She’ll track your dodges, so dodge too early and you’ll eat the attack. Expect to be hit here, so be ready to potion up. When you can land a hit, immediately use the living weapon and finish her off quick, as that more aggravated second phase of the boss is much more likely to kill you.
We’re done holding your hand. If you’ve made it through to the Ogress in Nioh and aren’t ready to stand on your own feet, well – it’s time to get out there and git gud.
Comments
Post a Comment